ConnectBot is an open source SSH client for Android. SSH provides secure access to a remote server. Both password and public key authentication are allowed. A key can be created in ConnectBot for use with the server. The key can be disabled at any time.
Use VX ConnectBot for a more updated Android SSH client. All steps from this guide still apply.
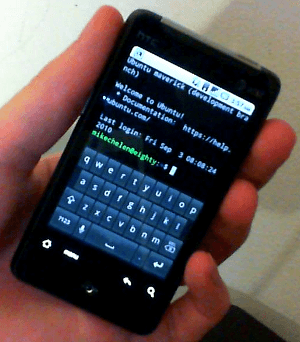
This method can be performed entirely from your Android handset if you currently have password access to an SSH server. ConnectBot supports shell login and port forwarding, and file transfer is planned. Tested with ConnectBot 1.7.0, Android 2.2, and Ubuntu 10.10 Maverick Beta.
Install Open SSH server
SSH server must be installed on the remote system. Key authentication is usually enabled by default. To install in Ubuntu:
sudo apt-get install openssh-server
Start ConnectBot
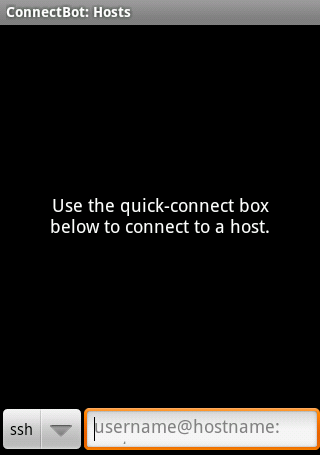
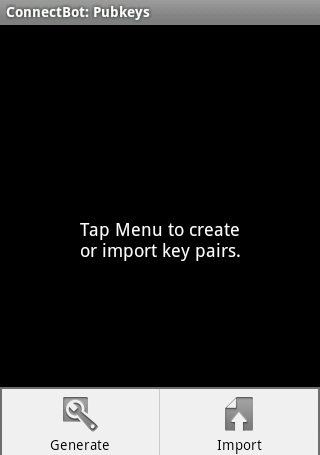
ConnectBot home screen. There are no known hosts yet.
Select Manage Pubkeys
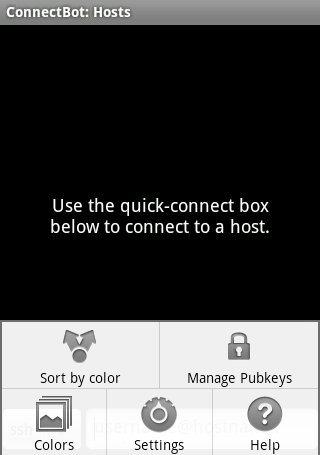
Click Menu, then Manage Pubkeys to configure keys.
Manage Pubkeys Screen
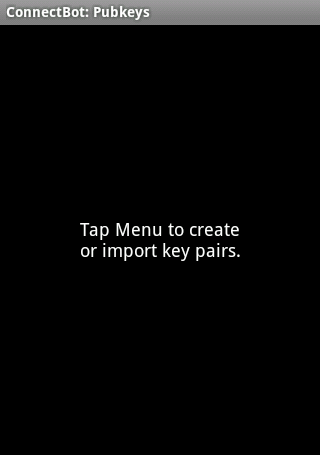
There are no keys set up yet.
Generate Pubkey
Click Menu then Generate. We are going to create a new key. This allows us to specifically revoke access if the handset is lost.
Generate Pubkey Settings
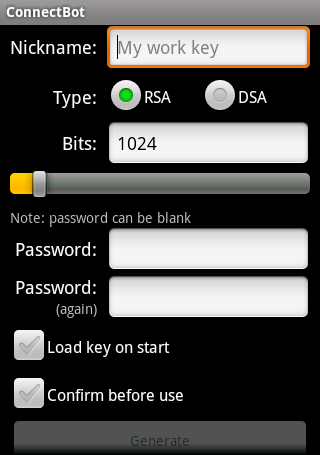
The new pubkey settings. Most of the defaults are fine. We will create a 1024 bit RSA key.
For improved security, a key size of 2048 or 4096 is now recommended. This does not affect any other steps.
Example Settings
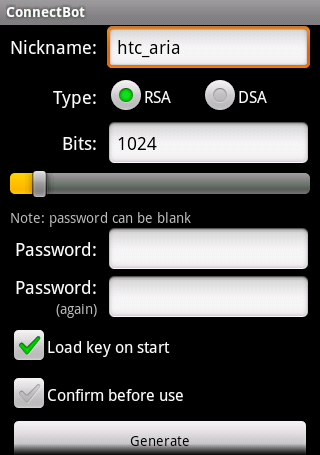
You can call your key anything you like. I have named mine after the device, htc_aria. Enable “Load key at start” to have the key automatically loaded by ConnectBot.
Collect Entropy
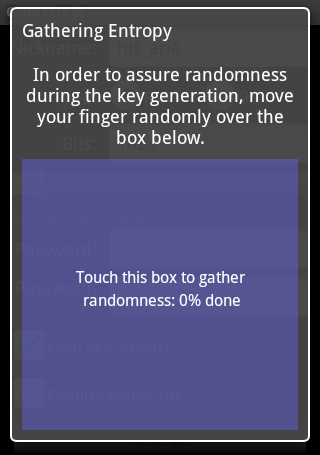
Random numbers are used to generate the key. Move your finger around the screen until enough randomness has been collected.
New Pubkey Created
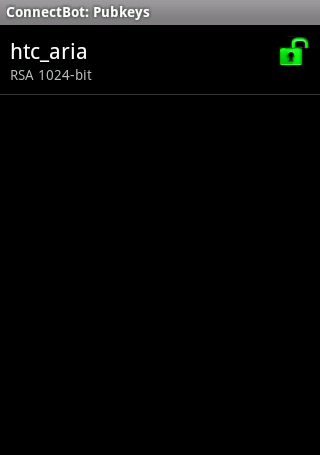
The new key has been created. It is unlocked and will be used by ConnectBot automatically when connecting to a server.
Copy Pubkey
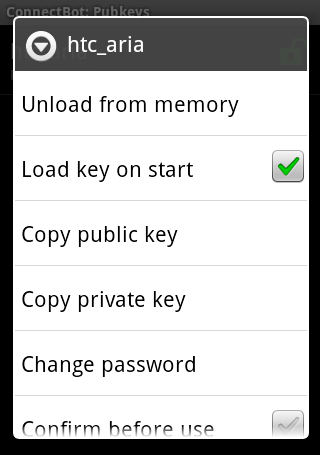
Long press on the new key to bring up a menu. Click “Copy public key” This public part of the key will be copied onto the remote server.
Connect to Server
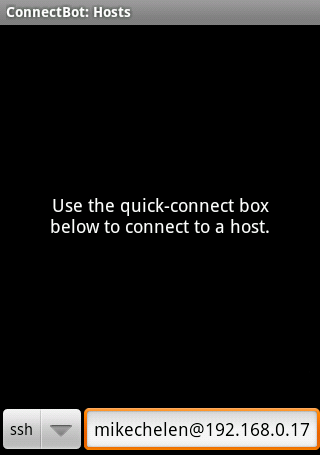
Go back to the ConnectBot home screen and enter your server information to connect to your SSH server.
First Connection
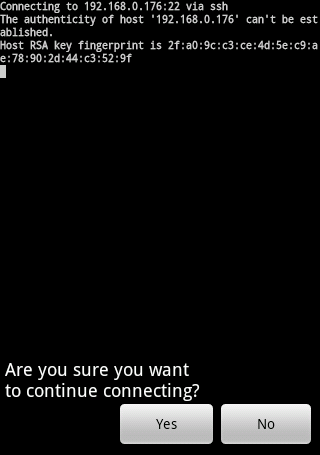
Choose “Yes” to accept the server’s key if this is the first time connecting to the server.
Connection Established
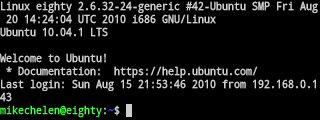
Login with a username and password to complete the connection. This is now the terminal of the remote server.
Add Key
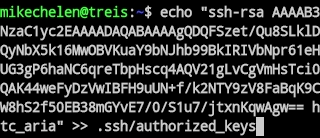
The list of keys accepted for this user is stored in the authorized_keys file. This file is located in the .ssh directory within the user’s home directory. Use the echo command and paste in the key, surrounded by parentheses. The >> will append your public key onto the .ssh/authorized_keys file.
echo "PASTEKEYHERE" >> .ssh/authorized_keys
For example:
echo "ssh-rsa AAAAB3NzaC1yc2EAAAADAQABAAAAgQDQFSzet/Qu8SLklDQyNbX5k16MwOBVKuaY9bNJhb99BkIRIVbNpr61eHUG3gP6haNC6qreTbpHscq4AQV21gLvCgVmHsTci0QAK44weFyDzVwIBFH9uUN+f/k2NTY9zV8FaBqK9CW8hS2f50EB38mGYvE7/0/S1u7/jtxnKqwAgw== htc_aria" >> .ssh/authorized_keys
Set Permissions for authorized_keys
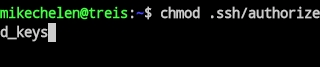
The .ssh/authorized_keys file must be writeable only by the owner. Set the permissions to 644 which means rw-r--r-- if it is not already that way.
chmod 644 .ssh/authorized_keys
Disconnect
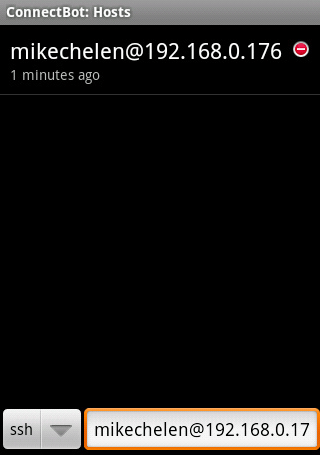
Disconnect from the server. It will be now be listed on the screen.
Test Connection
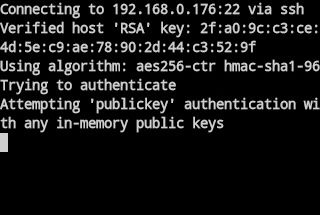
Connect to the server again. While logging in it will say that public key authentication is being attempted:
Attempting “publickey” authentication with any in-memory public keys
If the key is working, no username or password will be required to complete login. The SSH key authentication is now configured!
Optional: Disable Key
If the device is lost or access should to be disabled at any time, remove the key from the server’s authorized_keys file. Use any text editor, or sed, to find the appropriate line. With a key named htc_aria for example:
cd ~/.ssh
sed '/htc_aria$/d' authorized_keys | tee authorized_keys